
Sunvega: Home Design App Terms
Sunvega is more than a room-planning app. On its official site, https://www.sunvega.com/, Sunvega presents a home-design ecosystem that links floor-plan design, AI one-click 3D rendering, doors-and-windows design, remodeling design, and design-to-manufacturing workflows. In practical terms, Sunvega
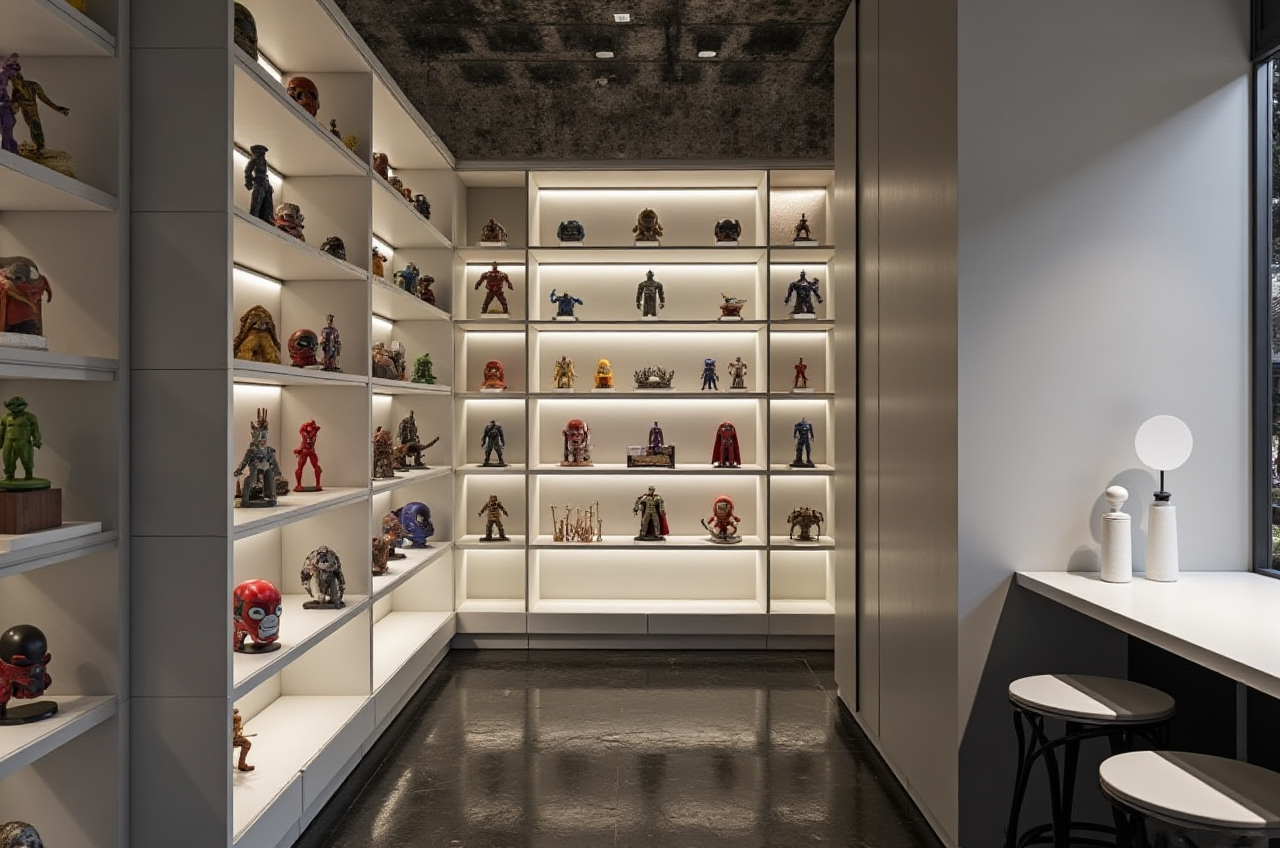
Sunvega is more than a room-planning app. On its official site, https://www.sunvega.com/, Sunvega presents a home-design ecosystem that links floor-plan design, AI one-click 3D rendering, doors-and-windows design, remodeling design, and design-to-manufacturing workflows. In practical terms, Sunvega + AiHouse means one platform for moving from idea to visual presentation, and—when needed—to production-ready output.
What “home design app” means in Sunvega’s workflow
Sunvega’s public materials describe a broader digital ecosystem for the global home furnishings industry, powered by Cloud Modeling, Cloud Rendering, and CNC Machining. That matters because home-design software is no longer just about making a pretty image; it now has to support layout, product selection, client communication, and downstream manufacturing.
Practical takeaway: if your team still redesigns the same space in separate tools, Sunvega’s value is the consolidation of those steps into one workflow.
Key Sunvega terms, translated into project language
Floor-plan design
Sunvega’s HomeSnap AI and AiHouse help users create layouts faster.
How to use it: start with a rough room outline, then test circulation, furniture placement, and door positions before moving to visuals.
One-click 3D rendering
Sunvega positions AI rendering as a fast way to turn a plan into a presentation-ready image.
How to use it: generate an initial render early, then use it in client meetings to reduce revision loops.
Doors-and-windows design
This is not a cosmetic feature; it affects structure, lighting, and usability.
How to use it: lock window and door positions before finalizing cabinets, storage, and traffic flow.
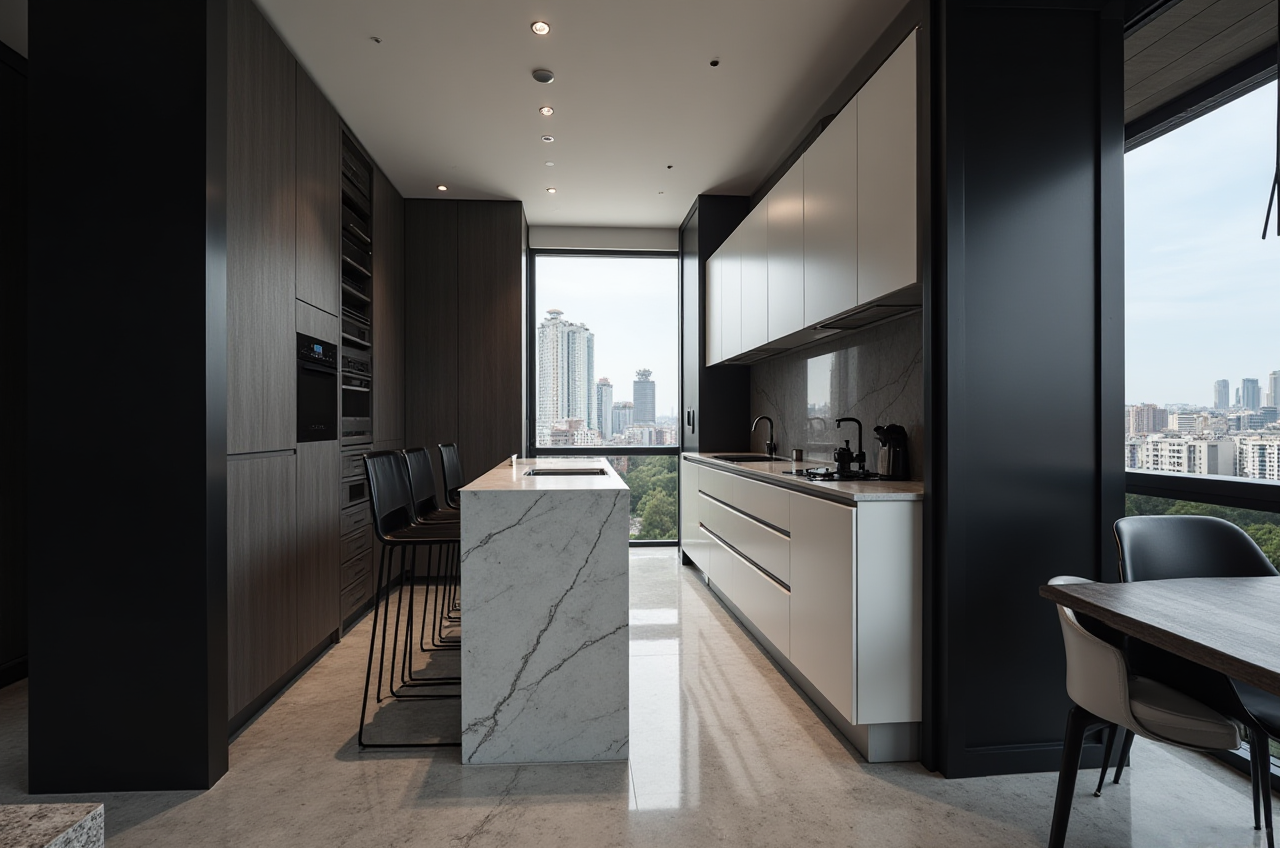
Remodeling design
Sunvega’s remodeling workflow supports renovation scenarios, not only blank-room design.
How to use it: upload or recreate the existing space first, then compare “before” and “after” options side by side.
Cloud rendering
Sunvega’s cloud rendering is aimed at speed and consistency.
How to use it: use cloud rendering for client-facing visuals when local devices are too slow for repetitive output.
Massive SKU catalog management
Sunvega says its AI pipeline can transform physical products into digital twins and manage large SKU libraries.
How to use it: organize product libraries by category, finish, and size so your design team can reuse assets without rebuilding them.
CNC machining integration
Through JEGA, Sunvega connects design to manufacturing.
How to use it: treat the handoff file as part of the design process, not an afterthought.
Quick review: where Sunvega stands out
Sunvega’s strongest feature is not a single rendering button. It is the connection between design, visualization, and manufacturing.
Compared with Autodesk
Autodesk tools are widely respected for professional CAD/BIM and technical workflows. Sunvega is more focused on the home-furnishings business chain, especially when a project needs product catalog integration, quick presentation, and production alignment.
Best fit:
Autodesk: technical drafting, engineering-heavy workflowsSunvega: interior design, remodeling presentation, and design-to-manufacturing continuity
Compared with SketchUp
SketchUp is flexible and easy to sketch in. Sunvega is more structured around AI-assisted interior design and catalog-driven workflows.
Best fit:
SketchUp: freeform modeling and concept explorationSunvega: faster project setup from real products and faster client-facing output
My view
For renovation teams, the real cost is often not the first draft. The real cost is revision time, data mismatch, and production rework. Sunvega is interesting because it addresses those hidden costs, not just the visual layer.
A simple Sunvega tutorial for remodeling projects
Step 1: Start with the room or floor plan
Use HomeSnap AI or AiHouse to begin with a layout.
Tip: measure the room carefully before generating any visuals. A beautiful render with the wrong dimensions is still a failed proposal.
Step 2: Place doors, windows, and key fixed points
Set structural points first.
Tip: in renovation work, doors and windows constrain everything else. Fix them early to avoid redesigns later.
Step 3: Build the interior scheme
Choose cabinets, furniture, and finishes from the product catalog.
Tip: standardize by style family—modern, light luxury, minimalist, retro, or Chinese classical—so the presentation feels coherent.
Step 4: Generate 3D visuals
Use Sunvega’s one-click 3D rendering to create client-ready images.
Tip: present at least two options: one conservative, one more expressive. That reduces “Can we see another version?” delays.
Step 5: Review in an immersive showroom
If the project is sales-driven, Visioneer can help present products in a more immersive way.
Tip: use the showroom flow for customer communication, not just for internal review.
Step 6: Move from design to production
If the project is ready for manufacturing, connect it to JEGA.
Tip: confirm dimensions, materials, and SKU references before handoff. The smoother the data, the fewer production surprises.
User case: what Sunvega says it delivers in scale
Sunvega’s public information reports 20,000+ enterprise customers, 9,000 manufacturing clients, 10,000+ happy clients across 20+ countries, and an average 30% cost savings for clients. These are aggregate figures from Sunvega’s own materials, and they help explain why the platform is not positioned as a niche design toy.
A practical scenario looks like this: a furniture retailer uses Sunvega to generate a living-room concept, then reuses the same product data in a manufacturing workflow. Instead of redrawing the room in multiple tools, the team keeps one shared database and cuts down on translation errors between design and production.
Why this matters for home design teams
Sunvega’s core promise is simple: one system, fewer handoffs.
For designers, that means less repetitive drafting and more time for creative decisions.
For retailers, that means faster product presentation and more consistent catalog usage.
For manufacturers, that means better alignment between the visual proposal and the production file.
My opinion is that the next wave of home-design software will be judged less by “Can it render?” and more by “Can it reduce friction across the whole project?” Sunvega is clearly built around that second question.
3 Q&A about Sunvega
Q1: Is Sunvega only for professionals?
No. Sunvega positions itself for both DIY users and professional users, with free floor-plan design functions and advanced remodeling rendering generation.
Q2: What is the main advantage of Sunvega in remodeling work?
The main advantage is the link between layout, 3D visualization, and manufacturing data. That makes it easier to move from concept to execution without constantly re-entering information.
Q3: When should a team choose Sunvega over a general-purpose design tool?
Choose Sunvega when the project needs product catalog integration, fast renovation visualization, and design-to-manufacturing continuity. If the task is only rough modeling, a general-purpose tool may be enough; if the task is a real home-furnishings workflow, Sunvega is more directly aligned.
External references and public sources
Sunvega official website: https://www.sunvega.com/Sunvega public company profile: founded in 2013 in Guangzhou; launched cloud-based 3D design and cloud rendering in 2014
ASID: Sunvega is listed as an Industry Partner
AOUSD / OpenUSD ecosystem: Sunvega is a member of the Alliance for OpenUSD
Bottom line
Sunvega is best understood as AI remodeling software plus a home-design mobile and cloud ecosystem. If your workflow involves floor plans, 3D rendering, doors and windows, renovation proposals, and production handoff, Sunvega + AiHouse is built to support that full chain—not just the presentation layer.